Well, I have to say that it was a whole lot of fun to make the Dragons Blood Wine. So many people made this wine along with me. In fact, many of the late starters are still making it now. I think that making this wine with a global community of folks all around the world at the same time was really exciting. Everyone sharing their wine making notes and pictures of their fermenting beverages was so fun.
Another really great thing that happened as a result of this Dragons Blood Wine project was being contacted by Danger Dave Land, himself! For those of you who don’t know, he is the creator of the recipe for this wine. Making new friends while making a new wine… How cool is that!
Dave was kind enough to share his delicious Dragon Blood Wine recipe with us, which obviously gets its name from its beautiful red hue. It tastes to me like hard berry lemonade fruit punch. Perfect for sipping on a hot summer day while sitting in a hammock in the shade. I think it pairs well with Japanese food, like Sushi, Teriyaki, etc. I don’t think I would pair it with a Steak, though.
Please consult my Dragon Blood Wine Introduction post for the ingredients that I used. You may want to watch a video series that I made on the whole process of making this Dragons Blood Wine.
Steps For Making Dragons Blood Wine
While my steps vary slightly from Danger Daves, I am confident the results are similar. I have reasons for my updates, based on my wine making style.
First, I poured the Lemon Juice into the Primary Fermenter pail. I used two 32oz bottles of lemon juice. Dave currently uses one 48oz bottle. Some of the folks used lime juice, too!
Normally, I would boil the sugar in water, but I decided to follow Danger Daves directions and I simply poured the sugar into the lemon juice. It dissolved much easier than I anticipated, which was great!
I added the Tannin, Yeast Nutrient, Yeast Energizer and Pectic Enzyme. I stirred that in really well. After that, I added a few gallons of water and continued stirring.
Next, I boiled some water and poured it on my fruit. My fruit was in a mesh bag in another pail. I believe that pouring boiling water on the fruit helps extract some of the color and helps in breaking down the fruit.
I poured the water from the Fruit pail into the Primary Fermenter and stirred it in really well. Then, I added remaining water until I hit the 6 gallon mark on the pail.
Next, I transferred the bag of fruit into the Primary fermenter and gave it a good few squeezes. I put the top on with an Airlock and set the dragons blood wine aside for 12 hours. This time is necessary so that the Pectic Enzyme could have time to break down the Pectin in the fruit.
After 12 or more hours I added bentonite, which is not in Danger Dave’s instructions. This is an optional step that I did to aid in clearing. I added the bentonite to a cup of boiling water and mixed it well. Then, I added that to the Dragons Blood wine.
Finally, I added the yeast by simply pouring it on top of the Dragons Blood Wine juice. I didn’t make a yeast slurry as directed. I seem to think that the yeast starts off better by just sprinkling it on top. After doing this, I snapped the lid on and put it aside.
The reason I put the lid on is so that dreaded Fruit Fly can’t get into the wine. A single banana in your house can bring fruit flies into the house. On a daily basis this is what I did:
- Removed the top
- Squeezed the Bag of fruit with my CLEAN hands.
- Put the Fruit bag into a clean bowl
- Stirred the bejeebers out of the Dragons Blood Wine juice
- Added the Bag of Fruit back into the pail and snapped the lid back on
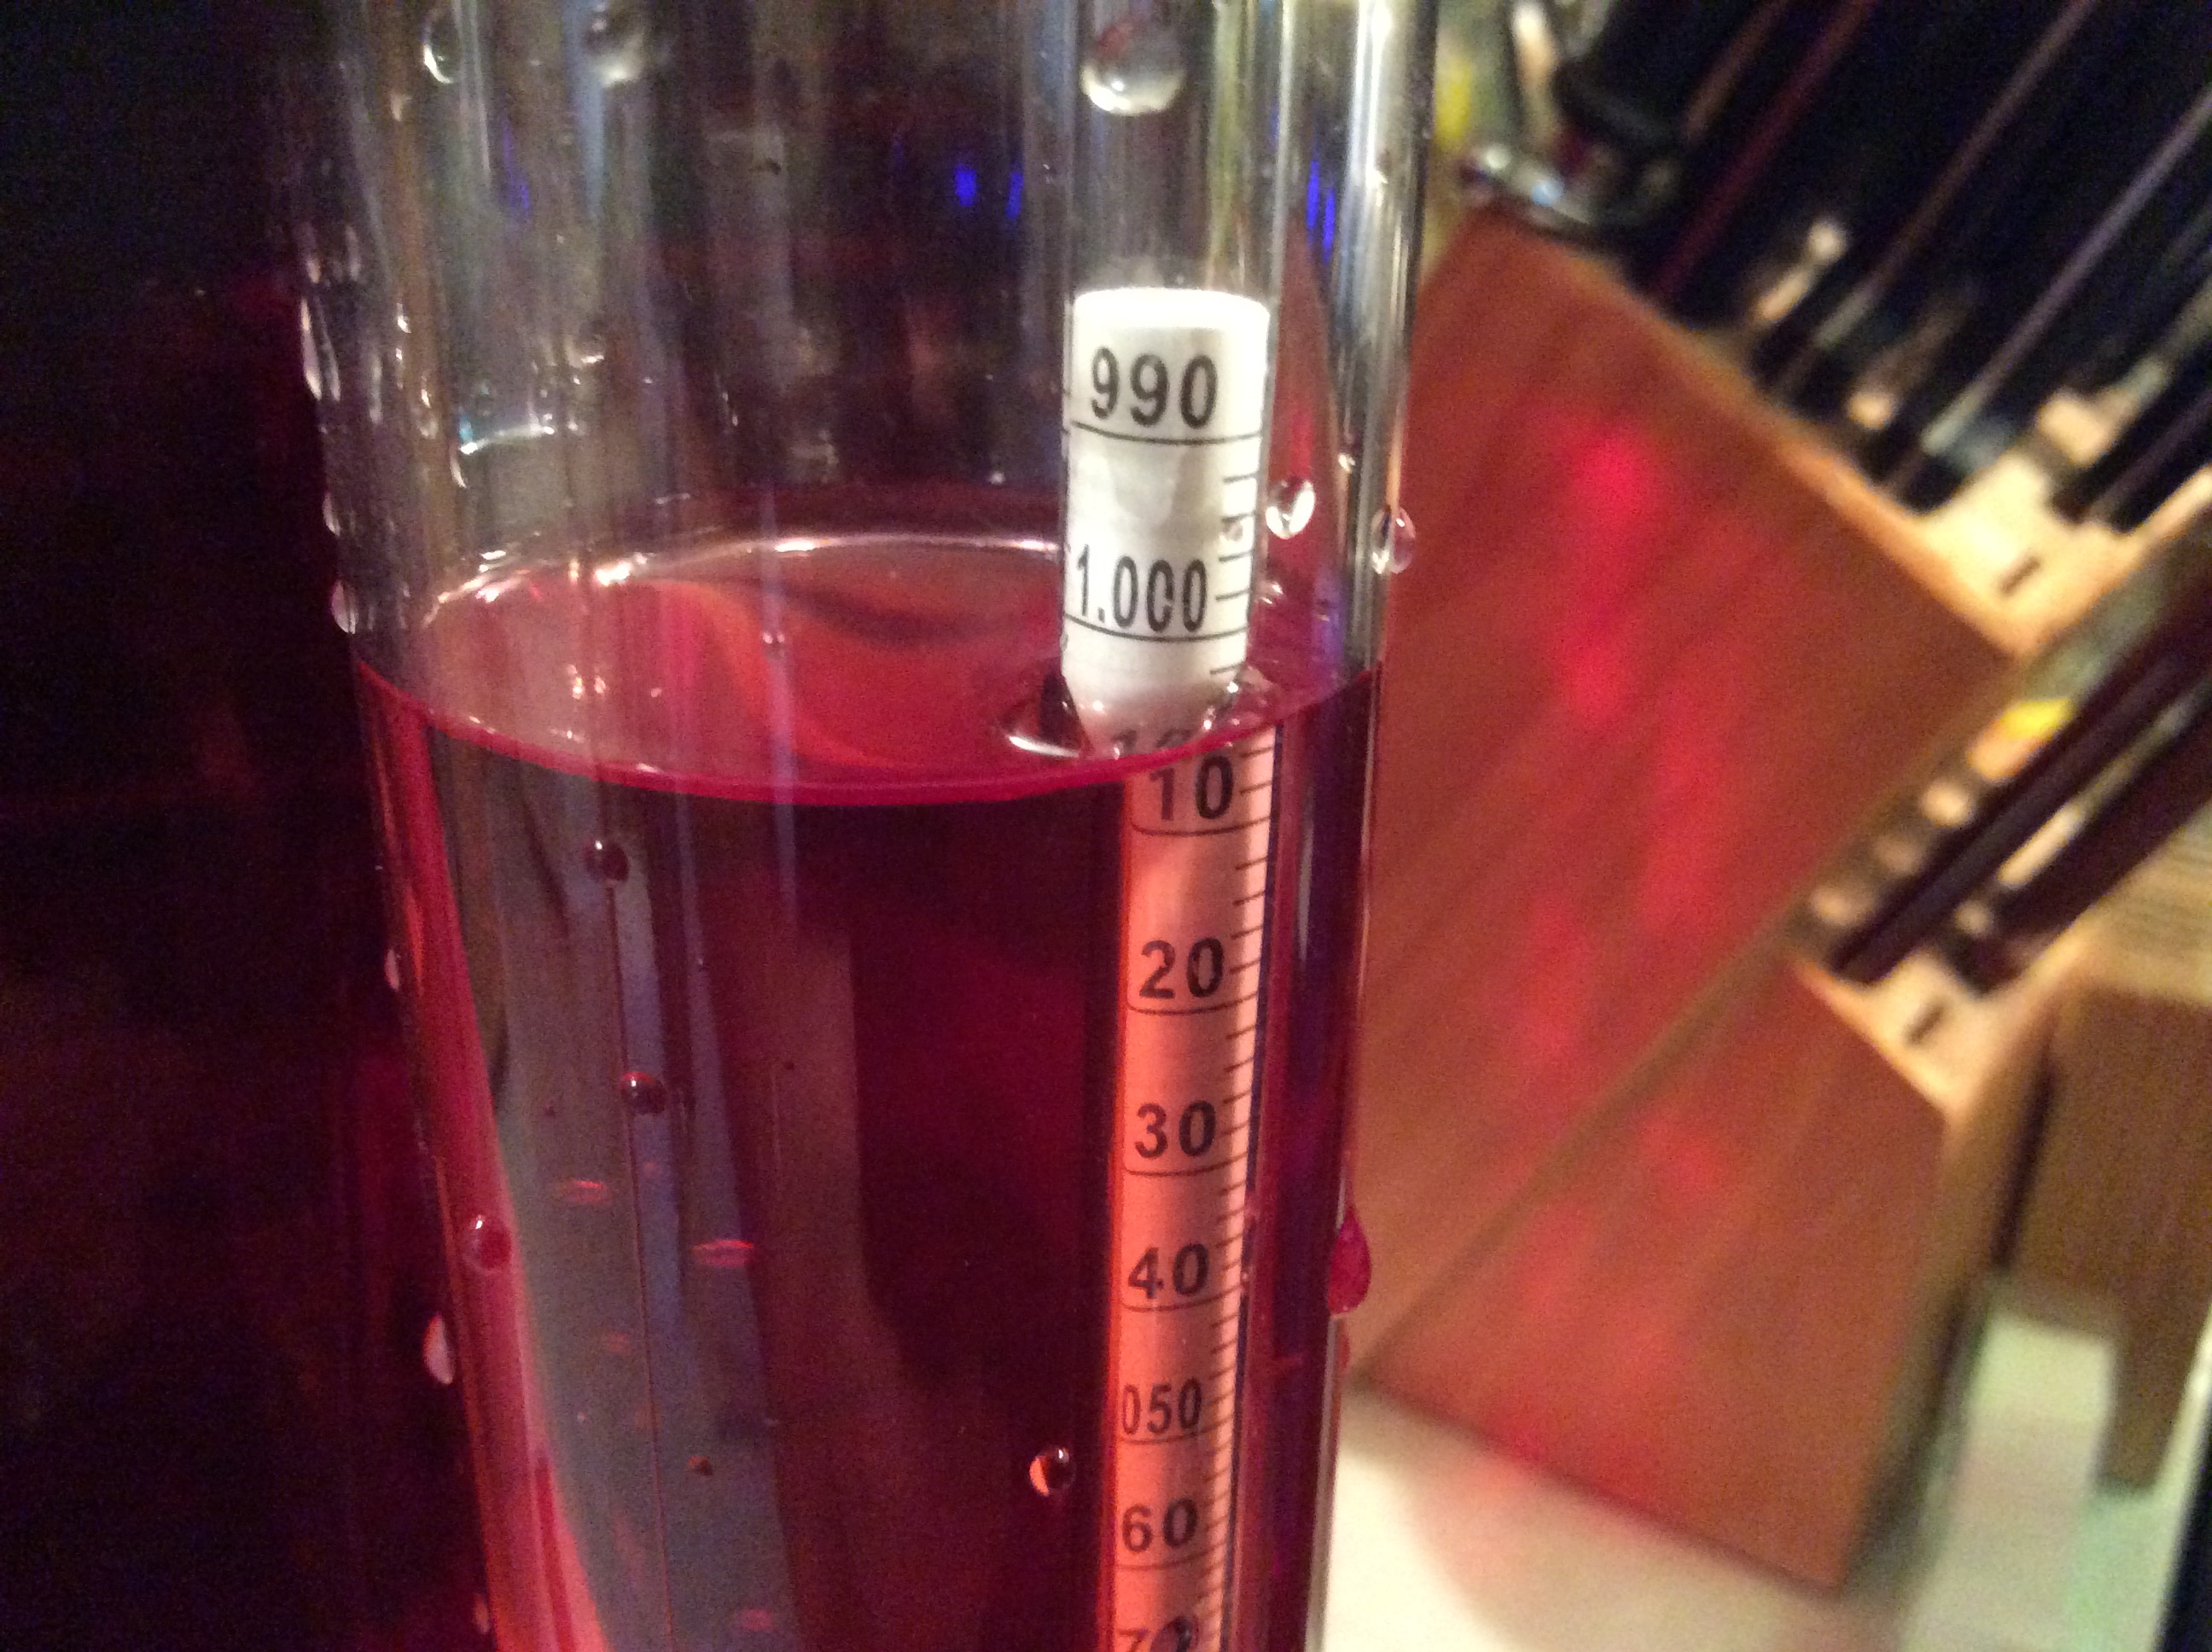
I did this for over a week until the Specific Gravity was under 1.0. In fact, I wanted it completely dry, so I went as far as I could.

Dragons Blood Wine Has A Lovely Color
When I was ready, I racked to a clean carboy. I degassed the dragons blood wine and added my Sparkolloid hot mixture as per the directions on the bottle. ( I have a video of How To Use Sparkolloid, too! )
You need to set your dragons blood wine aside for about 10 days to clear. If it doesn’t completely clear in 10 days you should give it more time or filter your wine.
Backsweetening Dragons Blood Wine
After the wine has completely cleared, I transferred it to a pail for bottling. Prior to bottling, I added Sorbate to the Dragons Blood Wine as this particular wine needs to be back sweetened. I followed the procedure I use for back sweetening wine that I posted here. I think it is important to get it just to the sweetness you think is best or a little less sweet.
After getting the whole batch Dragons Blood Wine to the desired sweeteness, I simply bottled it in clear bottles to show off the awesome color of the wine. You may notice that my Dragons Blood Wine is slightly more Orange than Danger Daves. The reason for this is that I use Organic Sugar to back sweeten. The Organic Sugar is light brown in color. That changes the color slightly. I love the flavor of Organic Sugar and highly recommend using it.
Making Dragons Blood Wine…
… was FAST, FUN and Easy!
Well, I hope you have enjoyed this Dragons Blood Wine Project as much as I have. Give it a try and go for variations. Try pineapple or lime juice instead of lemon juice. Try different fruits. Have fun!


Awesome videos on dragons blood. You’ve inspired me. I make lots of strawberry wine and blackberry, and raspberry… Hmmm I guess I make lots of country wines. I’ll definitely be trying this. Can you recommend a white zinfandel kit? The ladies love it in the summer. Also a 100% San geovese kit?
Hi Dave,
This is a pretty nice Sangiovese Kit: http://howtomakehomemadewine.biz/picks/9ogf
This is a great White Zinfandel : http://howtomakehomemadewine.biz/picks/cf2p
Thanks for your kind words.
Cheers
Hi love watching your videos on wine making and Im hooked gathering my equipment now and plan on making some Dragons Blood and Blue berry wine. Thanks for inspiring me.
Mike
Awesome! Thanks for your kind words and I am happy to have been a “Bad” influence.. lol
I’m interested in making wine. Have done some experimentation without much instruction. Want to know the why of each step. Can you point me to a great information am guide?
Do u need to put a campan tablet in and when if u do